
Alien Animatronic
It was October, and it had been a while since I did anything with motors. So I built a little animatronic!
I helped host a Halloween party at a friend’s place, and this guy greeted our guests from the back of my parked car.
Overview
- Tech: DC gearmotor + high power LED
- Mounting: Motor hub & mount + styrofoam ball + wooden dowels
- Build date: October 2016
Design
Since the party was at a house in the woods, the idea was to park my car askew and have an alien peek out the back, implying he was hiding out and up to no good. The idea pretty much fell into place after I saw this sweet alien mask that kinda looks like a fish. I had a futuristic looking cape from an old cosplay that he could wear, and figured I could pulse a green LED behind him for some scifi vibes.
Animating the Mask
Getting radial motion from a shaft is easy enough: power a DC gearmotor through an H-bridge and control its speed with PWM. I got that with a Jameco motor, off-the-shelf H-bridge board and an Arduino. The hard part for me, coming from a nonmechanical background: how do you leverage that motion to rotate a 23” diameter mask?
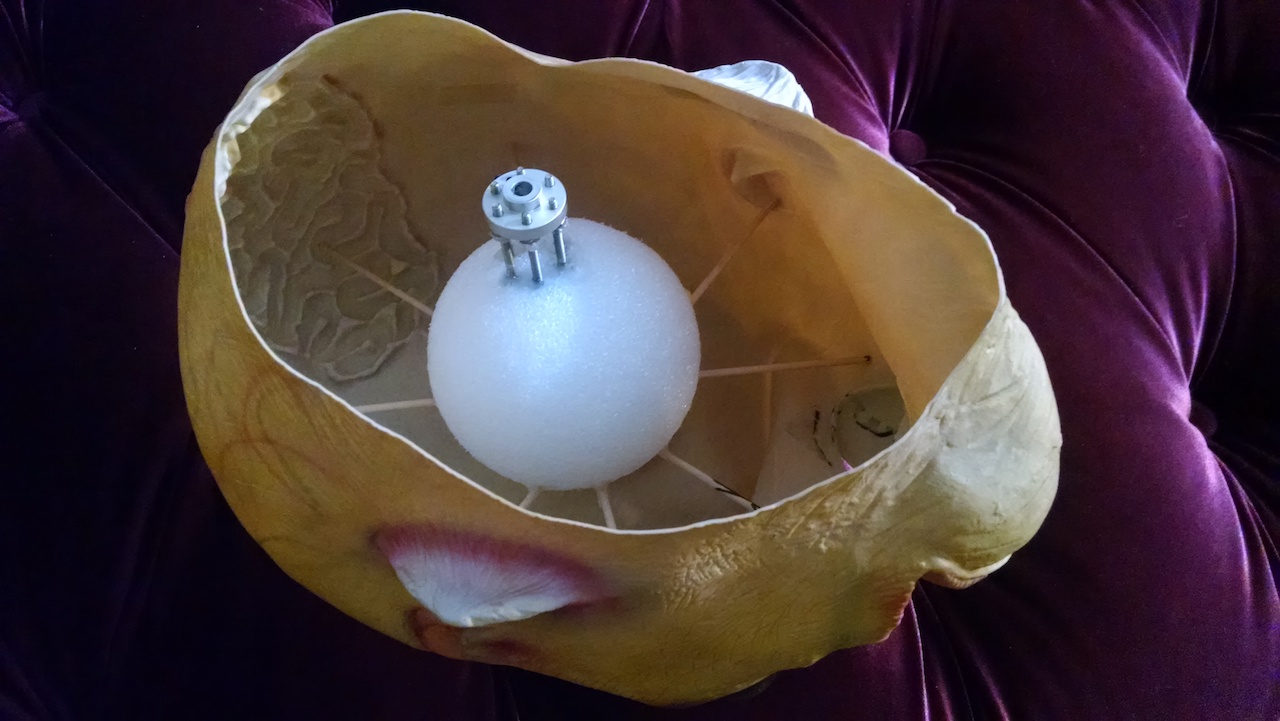
My answer was lots of adhesive! And wooden dowels, long screws, and a motor hub.
The motor hub was a hobbyist unit that fit my 12V gearmotor’s shaft, and had several threaded holes with which one would normally attach a wheel. But I couldn’t just get 23” wheels. Even if I was willing to drop the money, they’d weigh down the motor. Instead, I took a few 2” screws, held them in the hub with nuts and thread locker, and crammed those screws into a styrofoam ball. I drove a bunch of wooden dowels through that ball, approximating the inner diameter of the mask, and held them in place with hot glue.
If there’s anything I learned in mechatronics class, it’s that simple, brute force solutions can be really effective.
I programmed a basic state machine to make the mask rotate back and forth. I gave it a low probability of doing a double-take, and an even lower probability of spinning in a complete circle, because why not?
Pulsing the high-power LED
The cool thing about H-bridges is that it’s while they’re generally marketed for use with motors, they’re really just power drivers that you can use to put current through anything. The board I bought for driving the motor had two of them, so I used the one left over to drive a high power LED. I stuck the LED to a stock Intel CPU cooler I had lying around with some thermal paste and hot glue. I wanted to use thermal adhesive tape, but couldn’t get a hold of any in time. The passive cooling turned out to be plenty, and I didn’t have to drive the cooler’s fan.
I made another state machine to pulse the LED on and off, usually slowly but sometimes quickly, and made it flicker randomly.
Mounting the Components
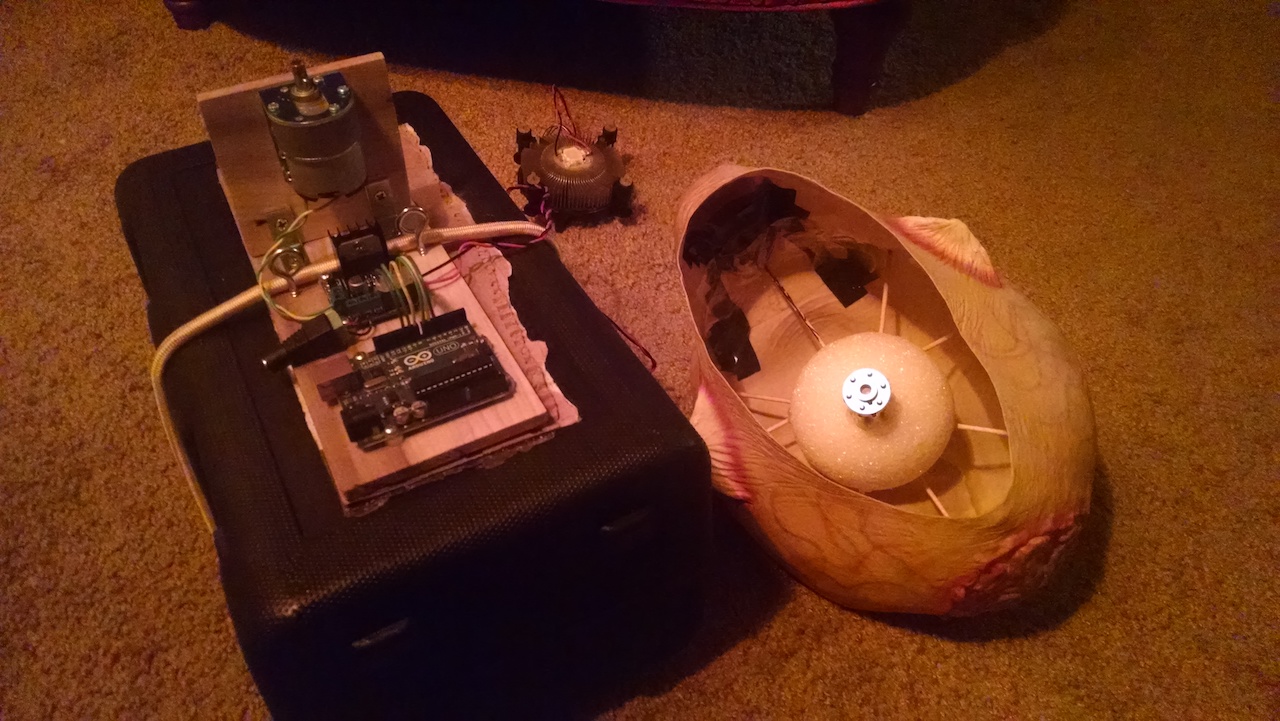
To mount the mask assembly, I attached the motor to a hobbyist bracket, attached that bracket to a slab of wood, and attached that slab of wood to another slab of wood with a couple right angle brackets.
That second slab held the H-bridges and the Arduino, and mostly importantly provided a surface to strap the whole thing down. I tied it all down to a box of dumbbells with a bungee cord. Without a heavy platform, the whole thing jerked a bunch and probably would’ve fallen over. The motor generated a surprising amount of torque.
Making the Alien Body
I put everything on top of a bunch of books that I held in place with wooden wedges. I draped the old cape over the books and propped up one of its long sleeves to the side of the cabin. I took advantage of it being hard to see at night and didn’t focus too much on the details.
Gallery
Here it is in action:
Documents
Lessons Learned
- Don’t be afraid to use adhesives like hot glue and thread locker. Especially for oneoff projects such as this. At first I tried mounting the mask using only removable fasteners like keps nuts and lock washers, hoping to make everything readily reusable. Only after that failed several times did I resort to more permanent adhesives.. and they worked first try.
- Don’t take mounting for granted! That took more time than anything else.
Where to Go from Here
It was rewarding to build something that felt alive and that made people smile. Or gave them the heebie jeebies. I’ll take that too.
I’d like to play around with animatronics some more, and have already gotten some 16 gauge aluminum to do so.
See you next Halloween!